Hello again from Kachunq. Today I want to give you a few pointers on hiding that seam between your flooring and the baseboard. I know some flooring you can install tightly up to the baseboard and then caulk it in. Let’s face it, you need to be a little more than a do it yourselfer for that kind of result. There are also other types of flooring that you must leave room for the floor to expand and contract, lets say it kind of floats in place.
So by now you have your floor in place and you will have a small gap to cover between the new flooring and the baseboard. The easiest way to do this is with a product called “shoe molding“. It is usually 5/8″ by 3/4” and comes in lengths of 8 foot or more. If you go to any hardware store you can ask someone and they can point you to it. This product will cost around 5 to 10 dollars per piece and you will need about 10 percent extra for cuts and waste. I recommend using the wood products, it can be pine or MDF if you are painting, stay away from the foam products as they do not have the durability to withstand the vacuum cleaner bumping them.
When you install this product it is best to use a brad nail gun with a minimum of 1.25 inch brads. If you don’t have one then you can predrill the holes and use trim nails. Be sure to use a drill bit that is slightly smaller than the nails you’re using. This method will take a little longer but will get the job done.
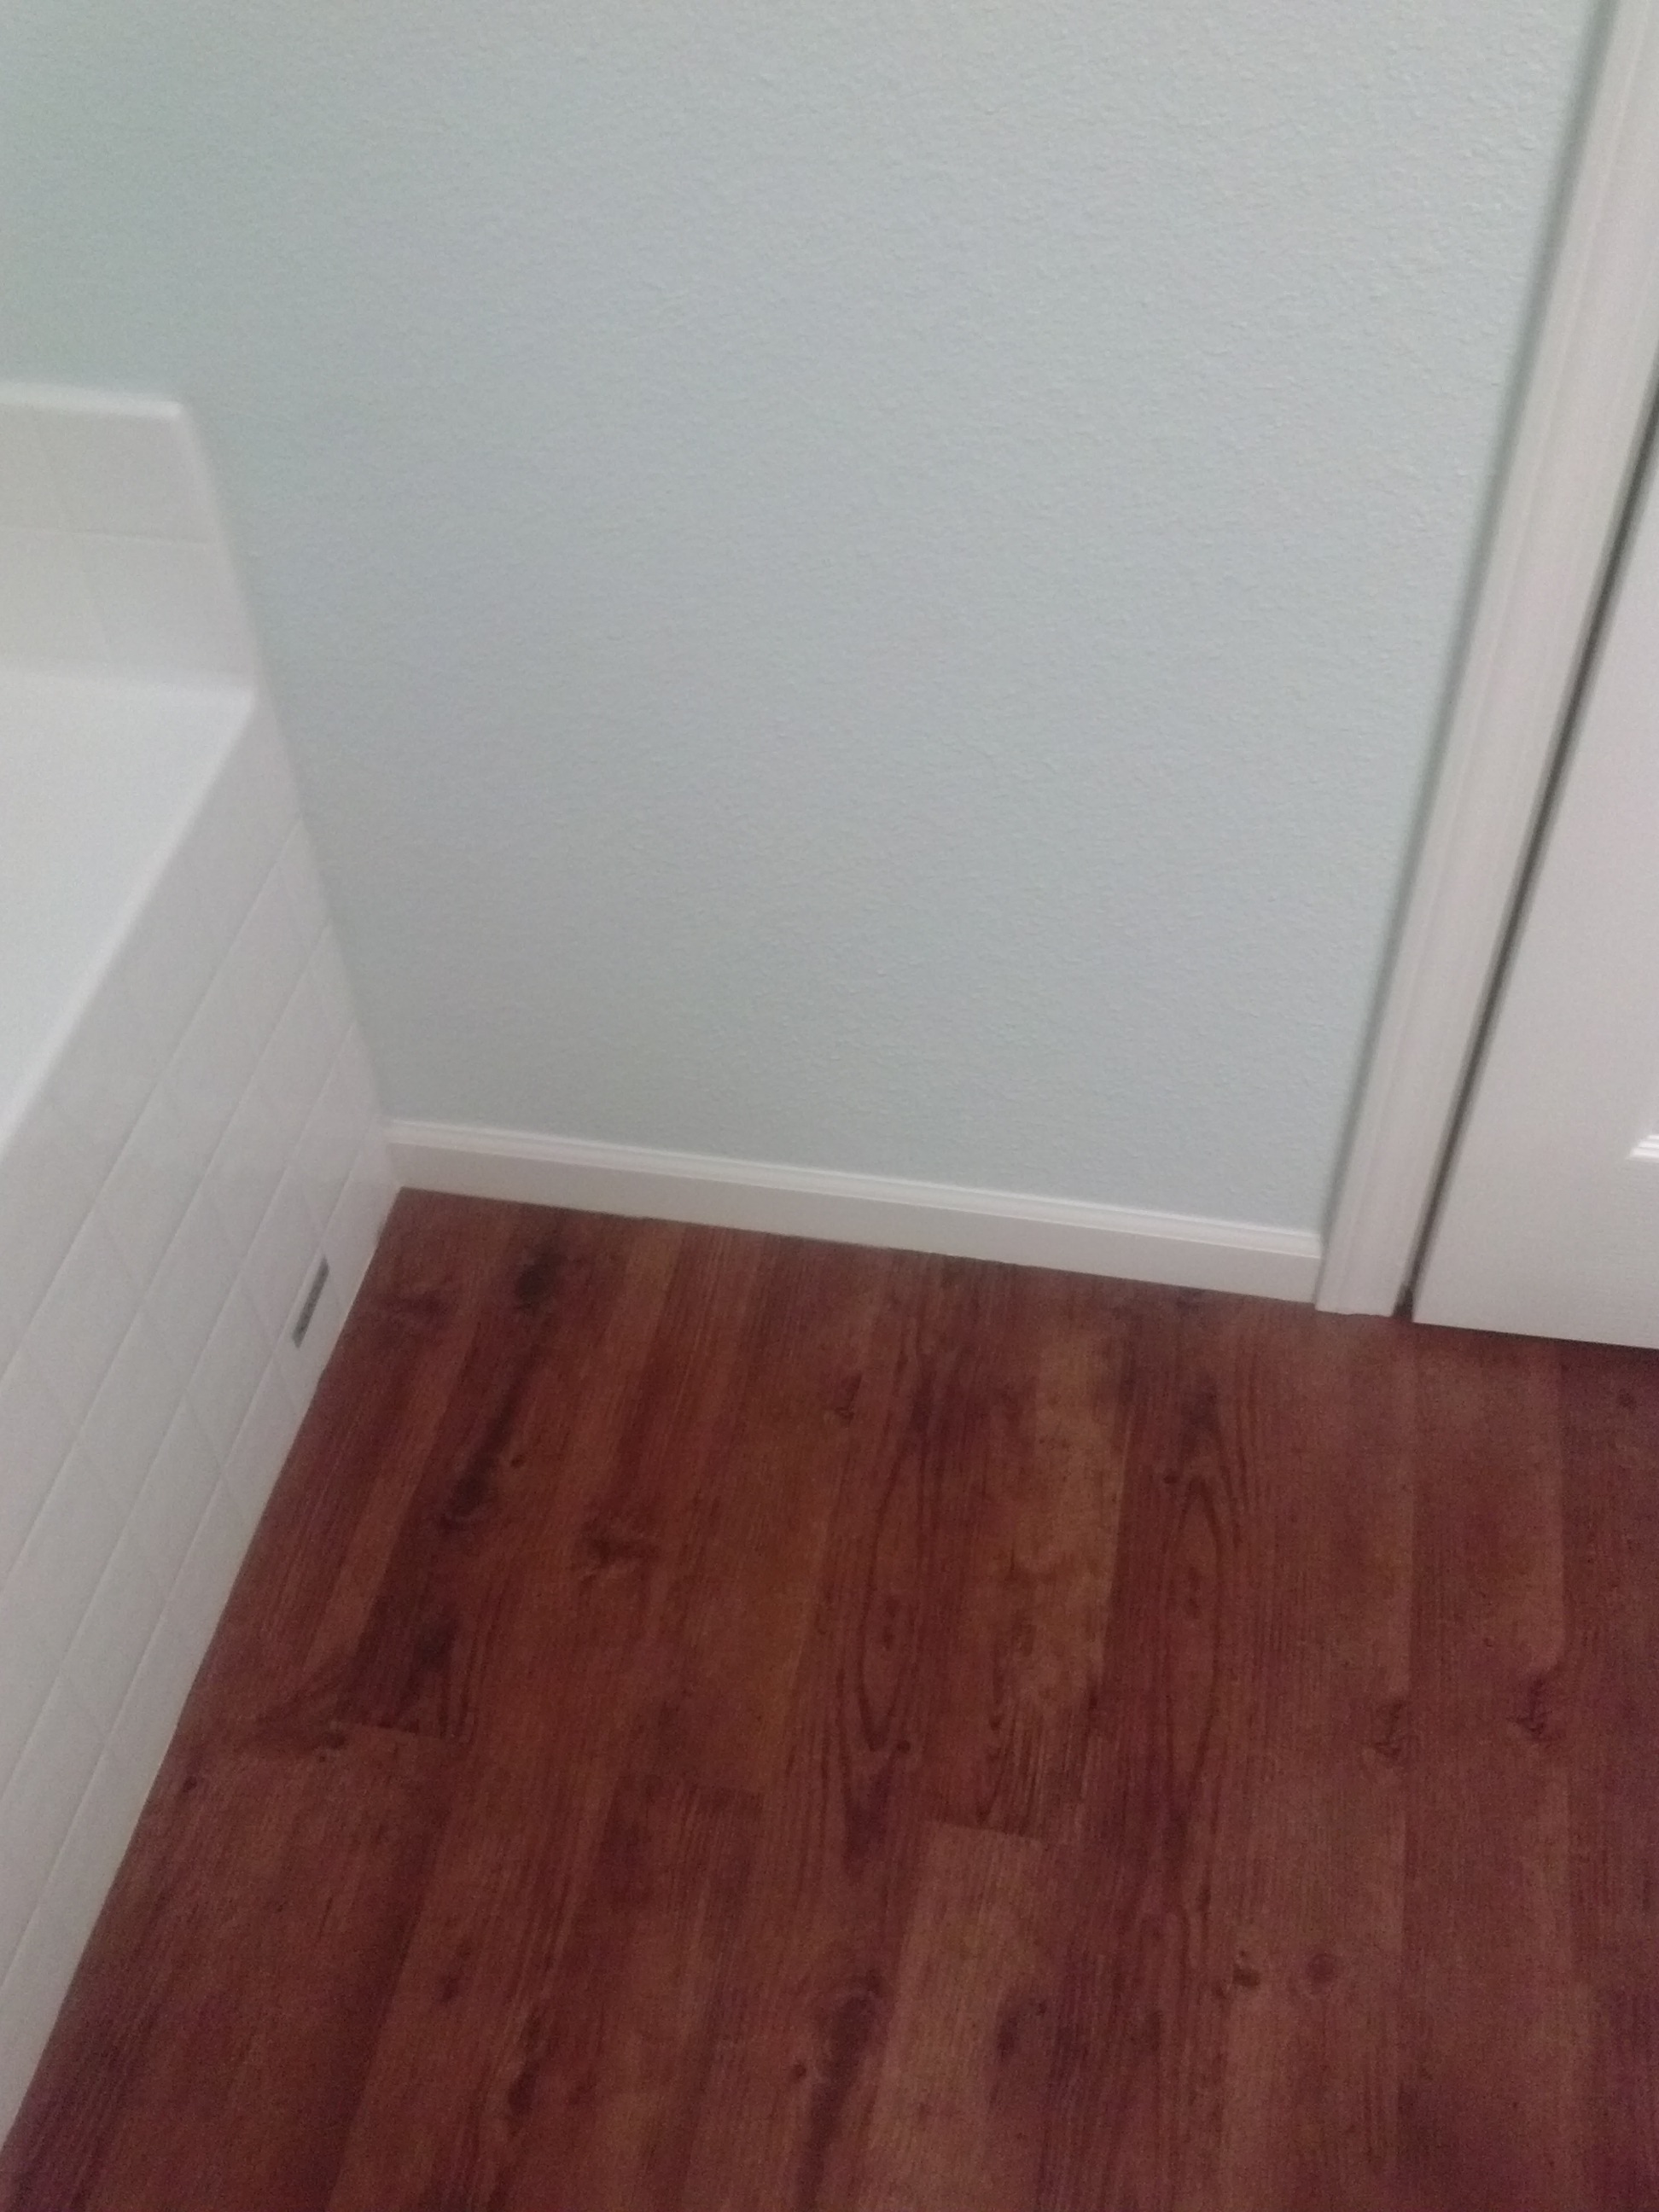
Now it is time to make your cuts and a brief explanation of that. Most of your cuts will be 45 degree angles, because two 45’s equal a 90 degree turn. So you have inside corners and outside corners, think of it as the inside corner the points will go into the corner and an outside corner points out from the corner.
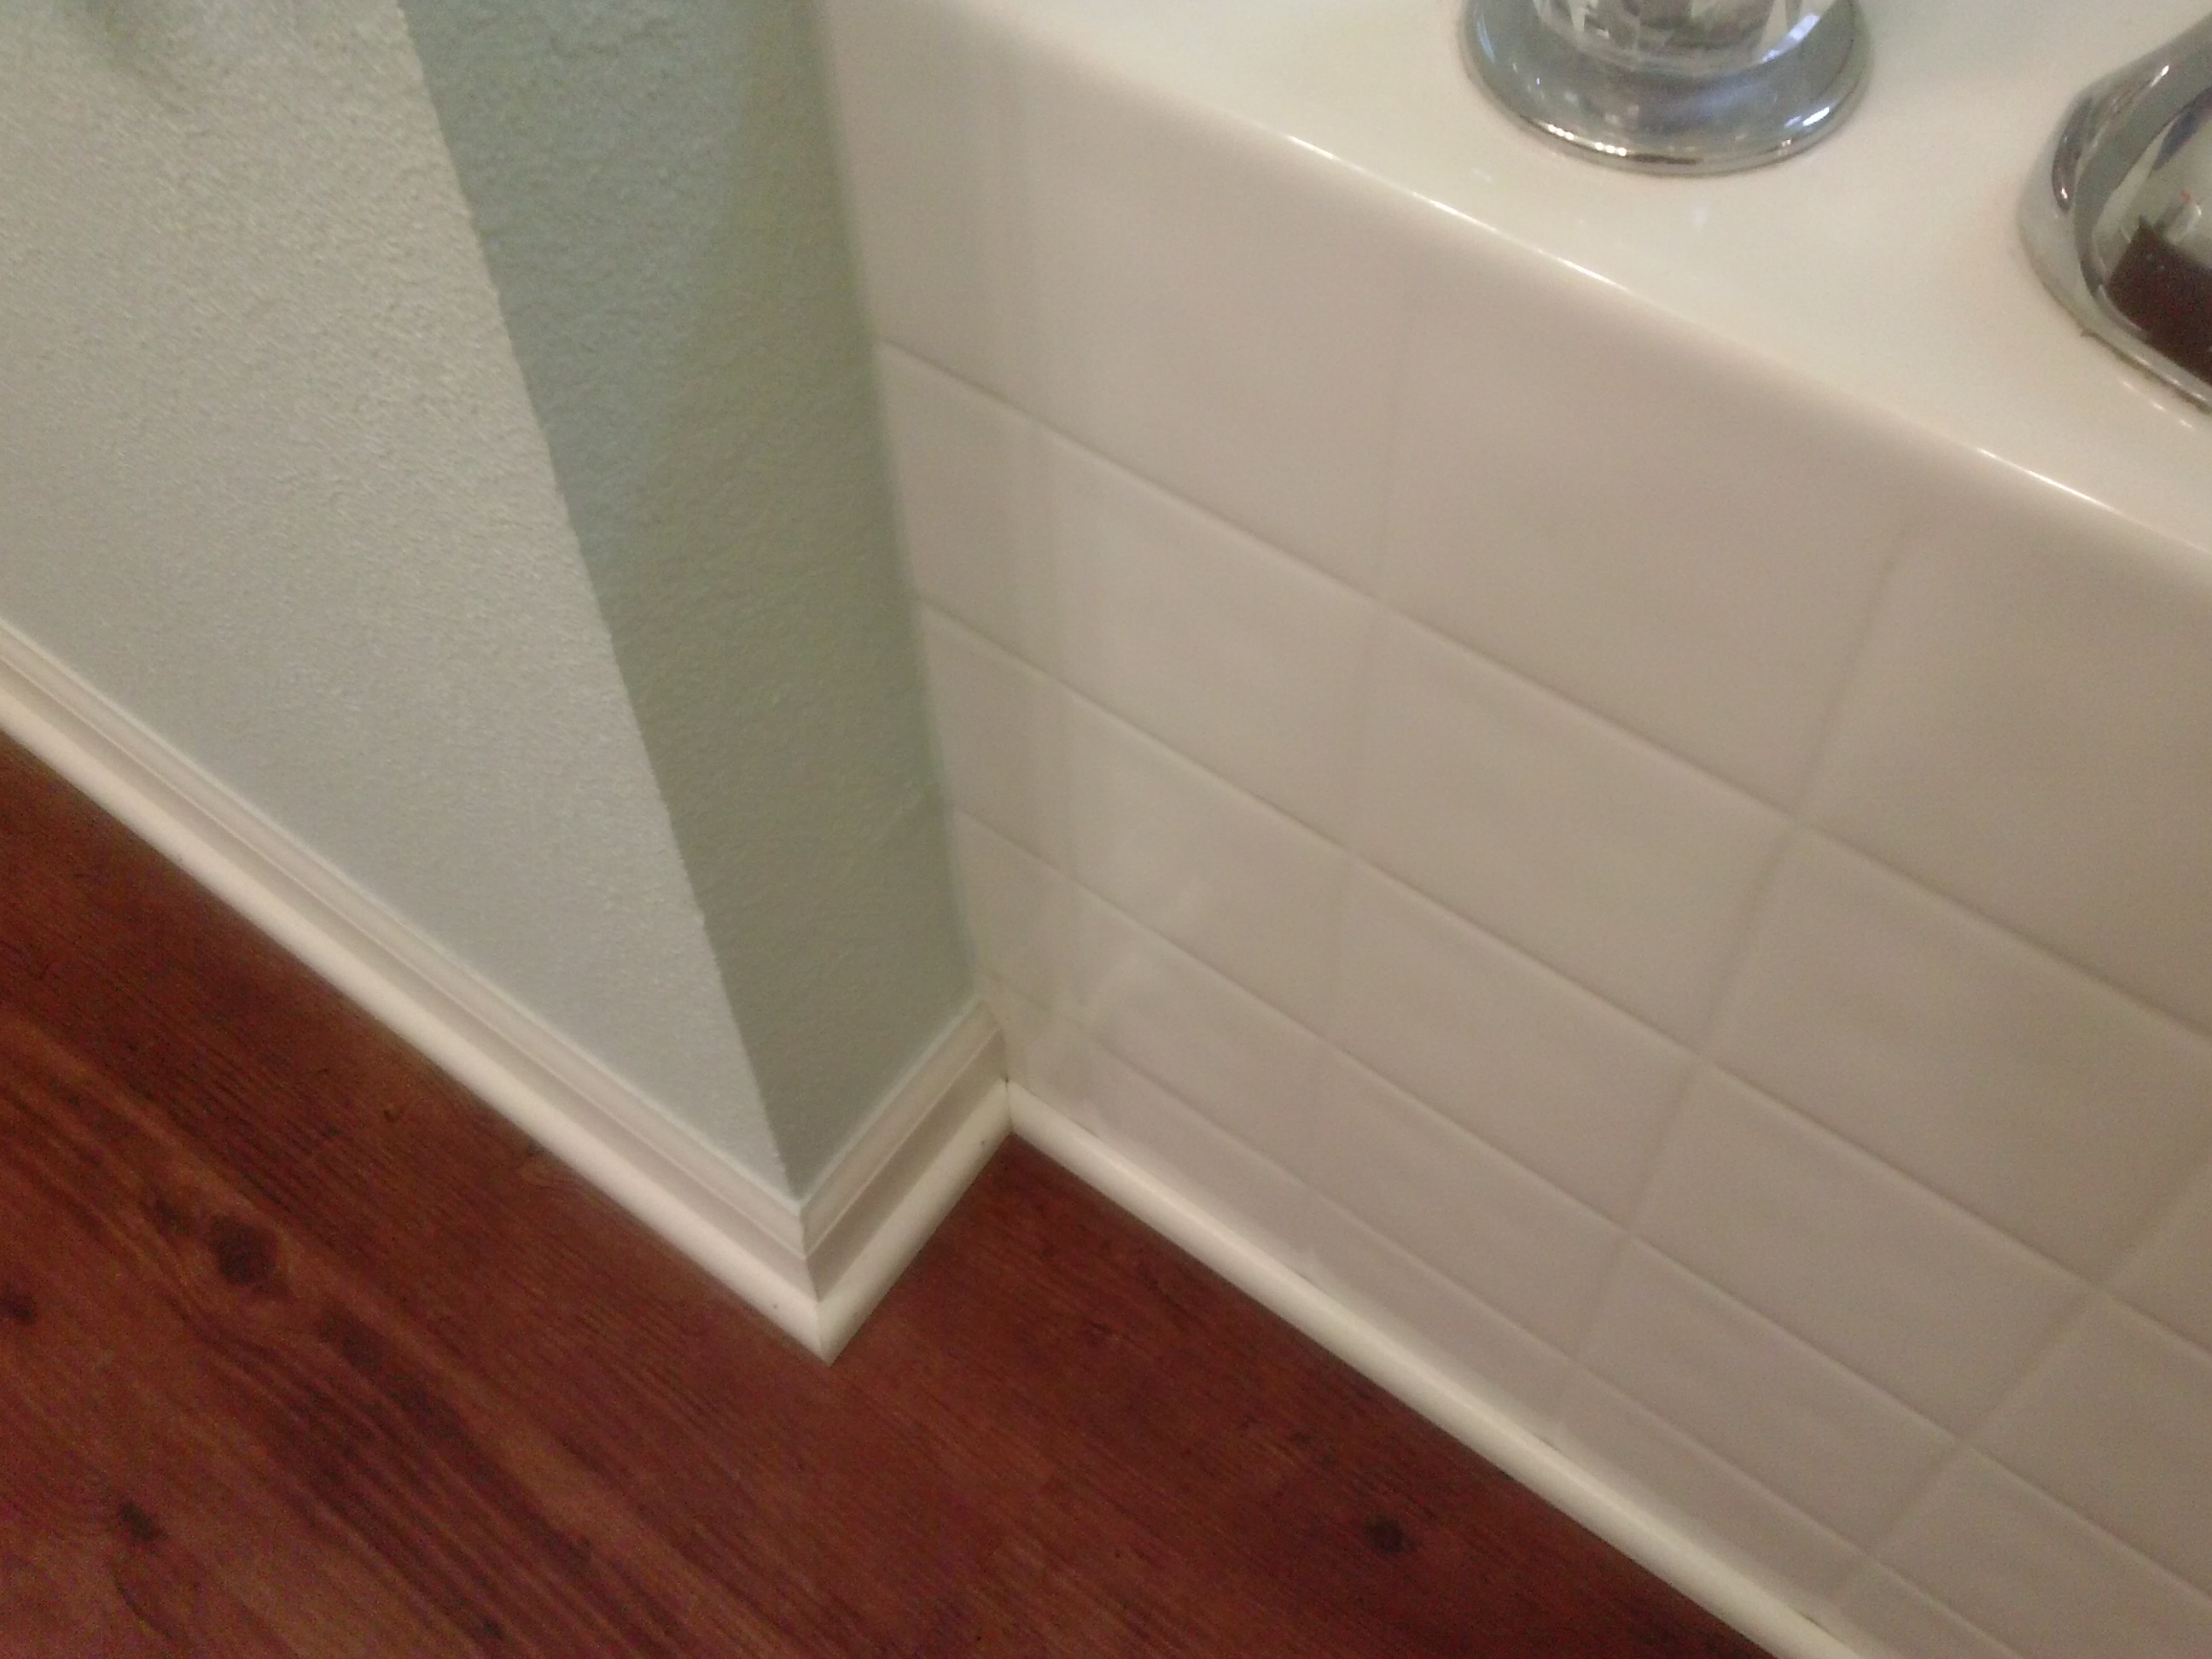
This is an example of an inside and outside corner.
You will need to consider these cuts when you do your measuring. As far as how to you make these cuts, there are essentially three methods. First you can use a speed square and free hand cut with a hand saw, highly NOT recommended. Second, you can buy a miter box that comes with a hand saw and do them that way. This way is not bad, but can be time consuming and frustrating. Third, you can get a compound miter saw and do them with it, the best way.

This is a $15 tool from Lowes.

This is a $80 tool from Lowes.
You pick which tool you want, if you will only do one project then the manual box will work, if not, spend the extra money for the power tool. When you measure for your cuts I like to measure the length of the piece and write down inside or outside so I know which way to make the cut. So my paper may show a number like this (inside 67″ inside) this way I know if I am looking at the piece on the floor the left cut is inside and the right is inside. If I wrote down (outside 44″ inside) then I know the left side is an outside corner and the right is an inside corner. I do this from the perspective as though I am looking at the piece while standing perpendicular to the wall it is going on.
Example: This piece would be
inside 22″ inside
Now that you have a basic understanding of how to measure, cut, and fasten that is most of the information you will need to tackle this project. I do have a few pointers for you…

Cut your piece about an 1/8″ too long on your inside to inside corners. This gives you a slight bow and when you push it in, the corners will be tight and you will have less of a gap.

Caulk the seams and all nail holes. Then touch up with paint.

Put 2 coats of paint on the shoe molding before you begin. This allows you to only have to touch up and not have to paint along your new floor.

Do a blunt end when you terminate your shoe into a cabinet.

I like to do a blunt end into door casing and then clip the corner off.
I hope this information has been helpful to your project. Remember, anytime you put a new floor down you may need to do some shoe molding to help hide the seam of the floor. So don’t be afraid to tackle that next project and look to Kachunq for the information you need. Special thanks to Lowes.com for the tool pictures. Always be safe when using any power tools and don’t forget your safety glasses.
